Start with what the recorder must do
Opening a live picture on a computer is not the same as having a recorder save footage, play it back and expose camera controls. TP-Link documents RTSP for streaming and ONVIF for compatible recorder integration. Check the recorder documentation for the exact features you require rather than assuming the same protocol badge guarantees them all.
Filter by exact camera and power type
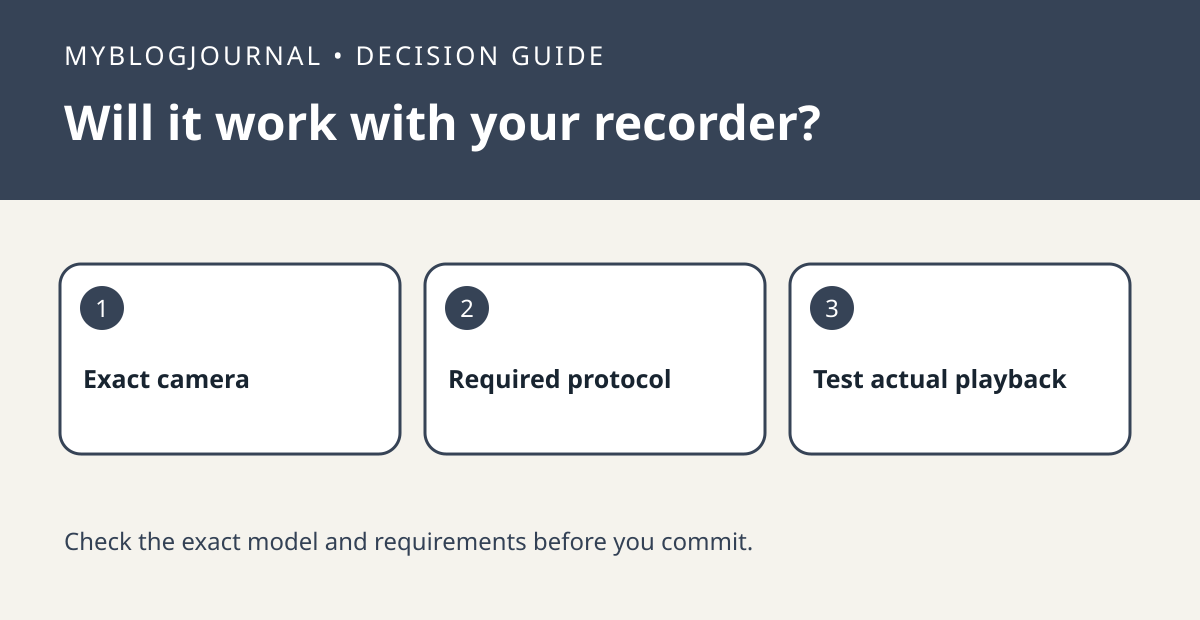
TP-Link says wired Tapo cameras support these protocols, while battery and solar models generally have streaming limitations. Check the exact model and hardware revision before you buy, especially if a reseller combines several models on one listing. Keep the camera and recorder on the trusted local network; do not forward camera ports to the public internet.
Budget for storage and administration
A camera account for third-party connections is separate from the normal Tapo sign-in. A local recorder also needs storage and an ongoing maintenance plan. Check whether your recorder requires additional channel licenses. For a rough constant-rate estimate, a hypothetical 2 megabit-per-second stream writes about 21.6 GB per day before overhead; variable bitrate or event-only recording changes that number.
Run the right acceptance test
If continuous recording is the goal, a live tile is only the first check. Record a short interval, close the viewer, and play back the interval from the recorder. Then confirm the required resolution and any camera controls separately. If the only requirement is occasional local live viewing, do not buy recording hardware solely because it was in the bundle.
Related: Indoor Camera Storage: Price the Card, Cloud, and Replacement Cycle.
Primary documentation checked November 6, 2026: TP-Link’s RTSP and ONVIF guide. The examples are illustrative, not hands-on tests. Links are informational.