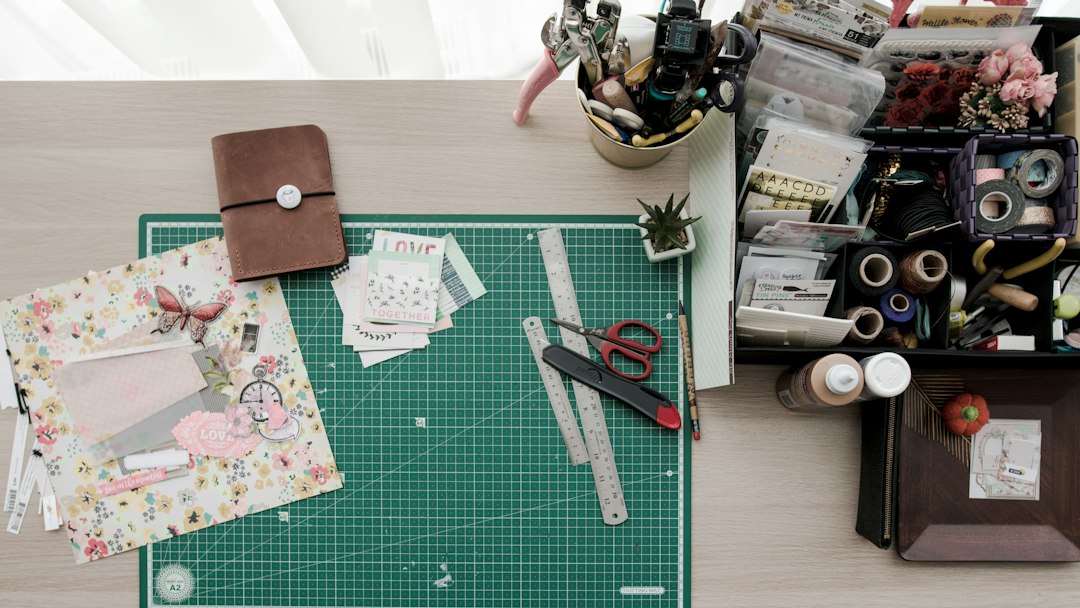
A paper collage is easier to revise while the pieces can still move. Planning a dry layout gives you a chance to compare arrangements before applying adhesive. You can keep the process simple: choose a base, limit the material selection, test the composition, and preserve a reference.
Choose a manageable base and material set
Start with a surface suited to the materials and intended use. Select a small group of papers rather than emptying every scrap box. Consider texture, thickness, and color, but check product information before assuming a material will behave well with your chosen adhesive.
Arrange large elements first
Place the main shapes without fixing them down. Look at the overall balance, overlap, and empty space before adding small details. Rotate or move pieces to compare alternatives. You do not need to decide every edge immediately.
For an illustrative landscape collage, you might test the background and two large shapes before choosing small foreground pieces. This sequence helps you avoid spending time on a detail that later disappears under a larger element.
Record a layout you may want to recover
Take a reference photograph or sketch the positions before dismantling a promising arrangement. A photograph can help with relative placement, but lighting and camera angle may change how colors and proportions appear. Keep important measurements separately when they matter.
Check the layering order
Identify which pieces sit behind others. Move them in small groups and note the order if it is not obvious. Keep tiny pieces contained so they do not become mixed with discarded scraps. Avoid relying on memory after the layout has been cleared.
Follow the adhesive and tool instructions
Choose a method appropriate for the materials and follow its application, handling, ventilation, and drying directions. Test on an expendable sample when suitable. Keep sharp tools and small pieces secure, especially around children and pets.
This layout exercise does not establish that every paper, backing, or adhesive combination is suitable. For preservation-sensitive or valuable work, seek appropriate material guidance.
Review the finished result
Compare the result with your intention and record one useful lesson, such as leaving more space between major shapes. Store the work and unused materials according to their needs. Keep only scraps with a realistic future use rather than treating every offcut as essential.
Use the craft offcut guide to keep the remaining materials findable.